Use Scraps – Save Money
While taking another virtual trip, leafing through my Egypt scrapbook, I was reminded how effective a simple layout can be. Basic layouts can save both time and money. They also keep the focus is on your photos and journaling!
In my Egypt album, I primarily used colored cardstock and scraps of paper to create simple yet beautiful borders and photo mats. If you wonder what to do with all those leftover odds and ends of cardstock, this post is for you. Check out the video as I leaf through the entire Egypt album, and then read on for more design tips.
KISS – Keep it Simple Scrapbookers
I love love love all of the designer paper and coordinated products currently on the market. But sometimes, I just want to keep my layouts simple. And, as I noted above, simple layouts help get your pages done quickly and save money. Following are some excellent examples of simple yet beautiful page layouts, using primarily cardstock or leftover scraps of paper. Creative Memories cardstock comes in an array of gorgeous colors and is 100% photo safe!


For the above two-page layout, I used leftover blue cardstock and my 12″ Decorative Trimmer (sold out) to create the two blue borders. To create the matching journaling block, I used a square scrap of the same blue cardstock and rounded the corners with my CM 2-Way Corner Rounder punch.
The page title (Visitor’s & Friends) was created by cutting squares of blue cardstock and then using my Corner Rounder punch on two opposite corners. I then cut slightly smaller squares from a lighter shade of blue, rounding the corners in the same manner, and finished the titles by adding black serif sticker letters. I simply love this shape and effect. I carried this border technique throughout the album, using it for several page titles.
Another time and money saving tip: I mounted the photos directly to the page rather than matting them and also wrote photo titles and descriptions directly on the page. Given the complexity of the title design, this helped to make sure the page did not feel too busy and kept the attention on the photos!
Photo Borders
Using a strip of cardstock and several smaller photos, you can create a page border with big impact. This is also a useful technique to help you include more photos on one page, especially if you have a ton of photos of the same subject or location, or if you have an “action” sequence of photos such as the camel going from standing to kneeling in the below border.

For both of the page borders above, I used a narrow strip of leftover cardstock and then matted smaller-sized photos with a contrasting color. Many photo printers allow you to print 1, 2 or 4 photos on one 4 x 6 or 5 x 7 piece of photo paper, resulting in these various sizes.
On the above page, I cut out smaller architectural details from several photos to use on the border, leaving plenty of space on the page for the larger photos.
A Little Color Goes a Long Way

In the above two-page layout, I used two very narrow strips of leftover orange cardstock for the borders. The cardstock picks up the more muted orange in the map and really makes the page pop. Given the bold color, a simple half-inch border still has major impact.
You will also note that I cut the map in half, placing one half on each page. This was for a practical reason: the map was too big to fit on a single 12 x 12 page. This design technique, however, of having a single element cross from one page to the next, bridges the layout and provides a visual flow. Here is another example of this technique:

For the above pages, I used an orange background paper on the left side, but cut off a 3″ strip to include on the right hand page. Again, this helps the two pages to “flow” together visually. I also used the same paper to create both the left and right borders.
Let Your Photos Shine
When you have a really spectacular photo, let the photo be the star of the page. Sometimes, there is no need for fancy papers and stickers. With a bit of basic matting, you can let your photos shine.

Have Fun with Your Design Elements
As I was walking through old ruins in Luxor, I noticed that as they unearthed pieces of ruins, the archeologists would number each chunk, allowing them to eventually piece the monuments back together. This reminded me of giant jigsaw puzzles. I mimicked puzzle pieces in the below layout, “fussy cutting” each piece and photo by hand. I used the Creative Memories Micro-tip scissors – they are perfect for this intricate cutting. Their steel blades are also coated with Teflon preventing tape and stickers from creating a sticky mess on your scissors!

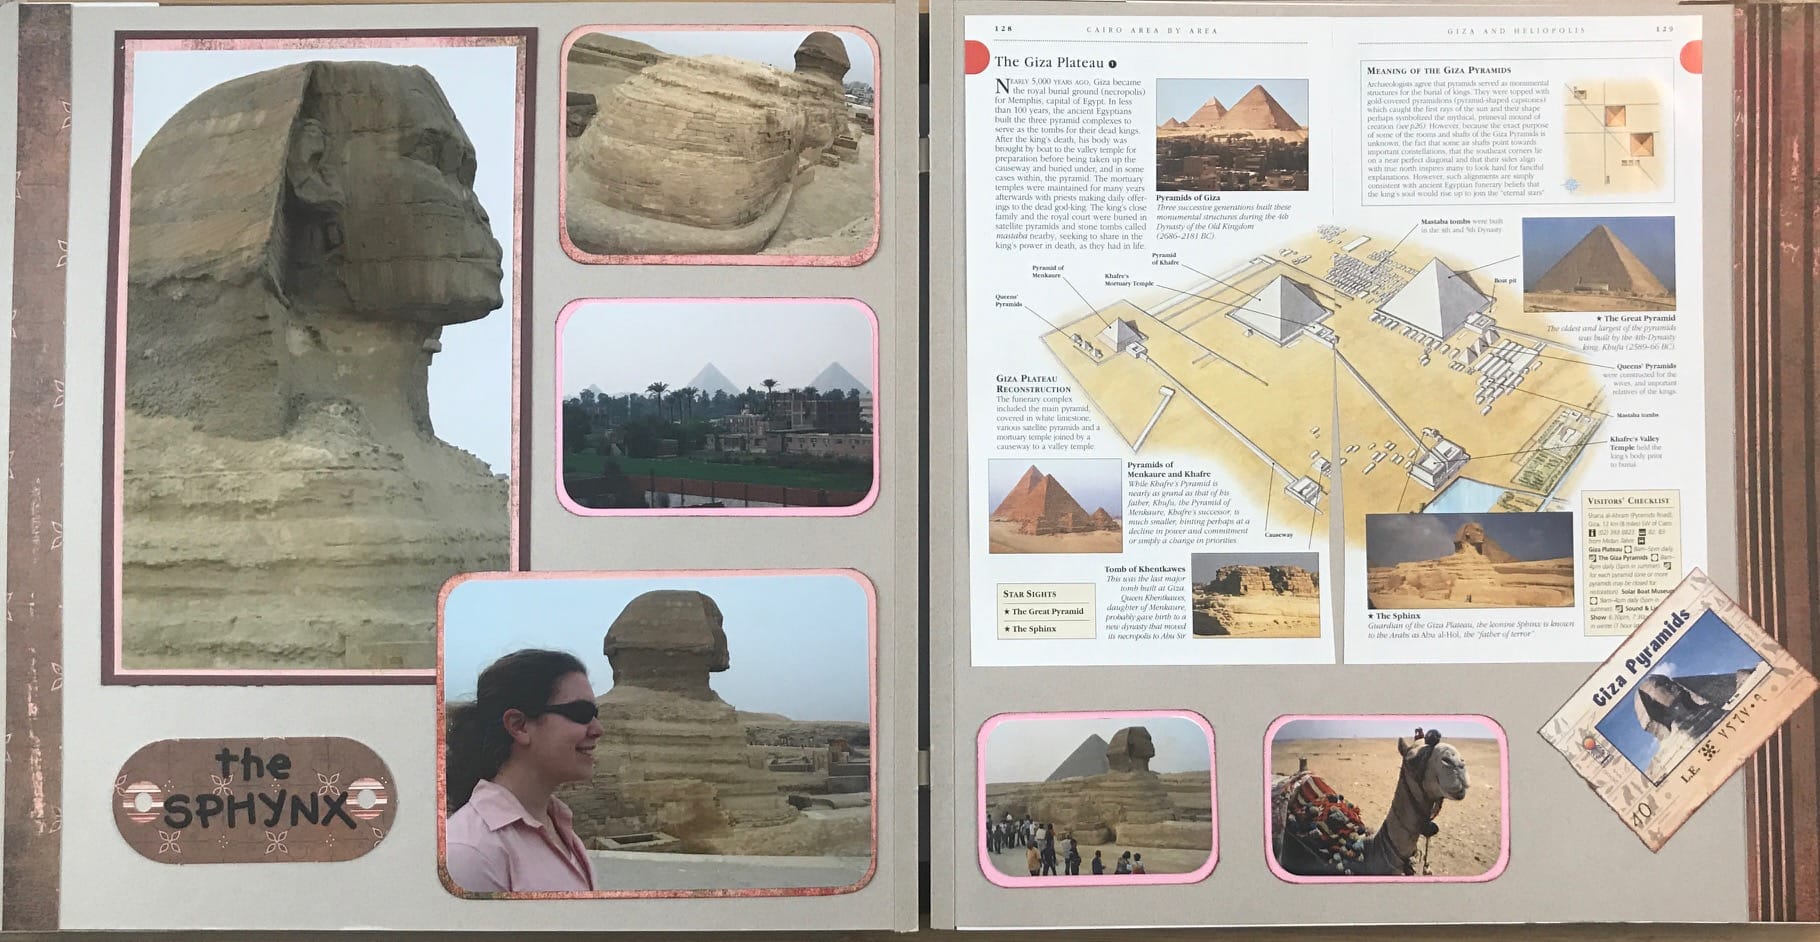
Double Matting Makes Your Photos Pop
I love to layer two different colored mats below my photos. It allows you to bring out colors from the photos and can help contrast darker or lighter shades from the page.

In the above layout, the pink really pops while the brown blends nicely with the natural pages. The pink matting also picks up the colors of our shirts and sweaters and helps break up all of the brown on this page, from thepage color to the sandy landscape.
I hope this post inspires you to complete some pages of your own.